Redesigned in 1920 by the renowned architect,
Donald Ross, this course is short but challenging,
featuring quick greens and relatively narrow fairways. Course
management is essential as many a big hitter has discovered, with
water and sand bunkers appearing frequently.
- 277 yards- par
4. 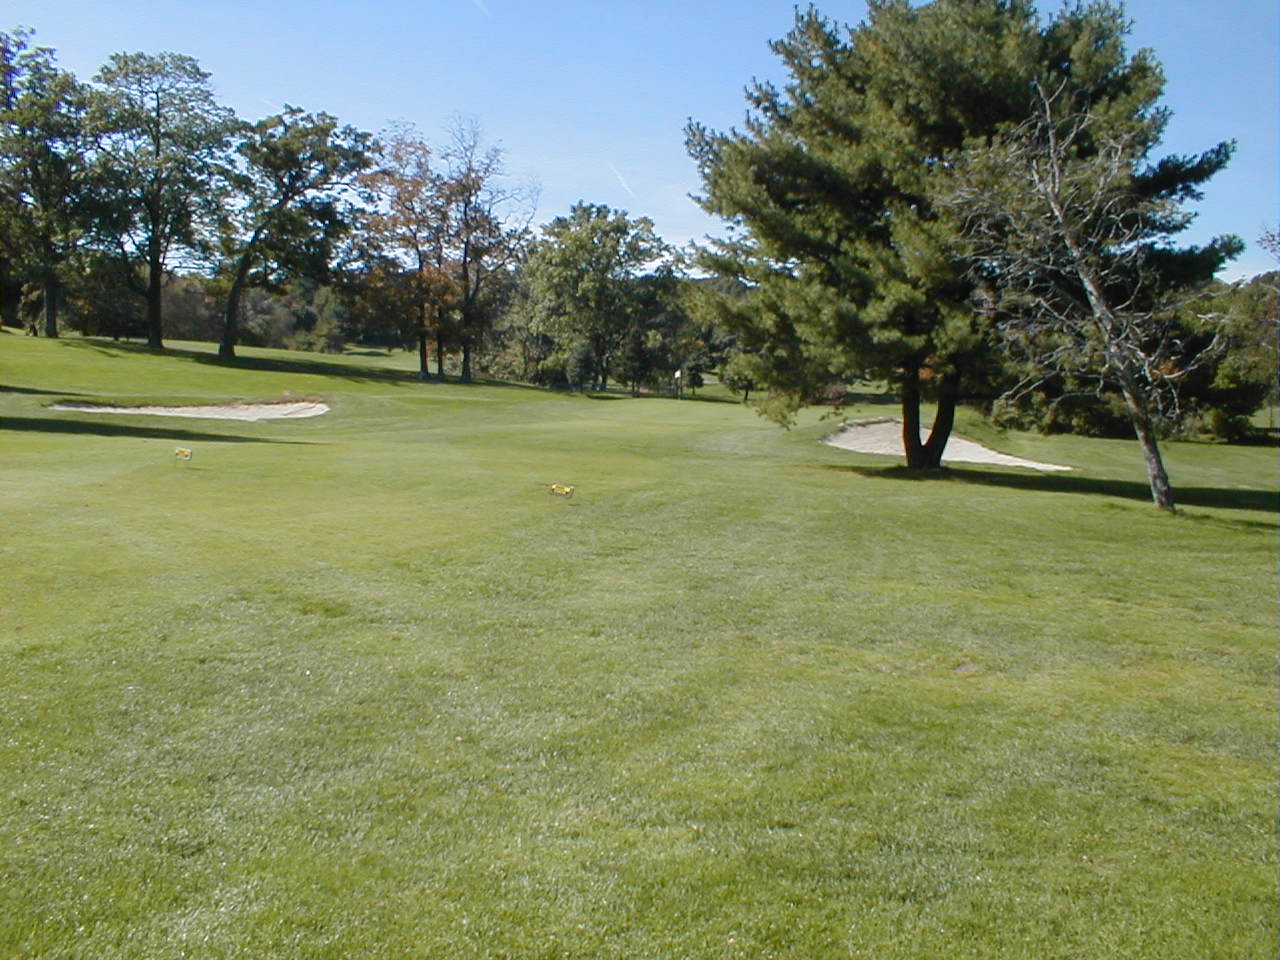
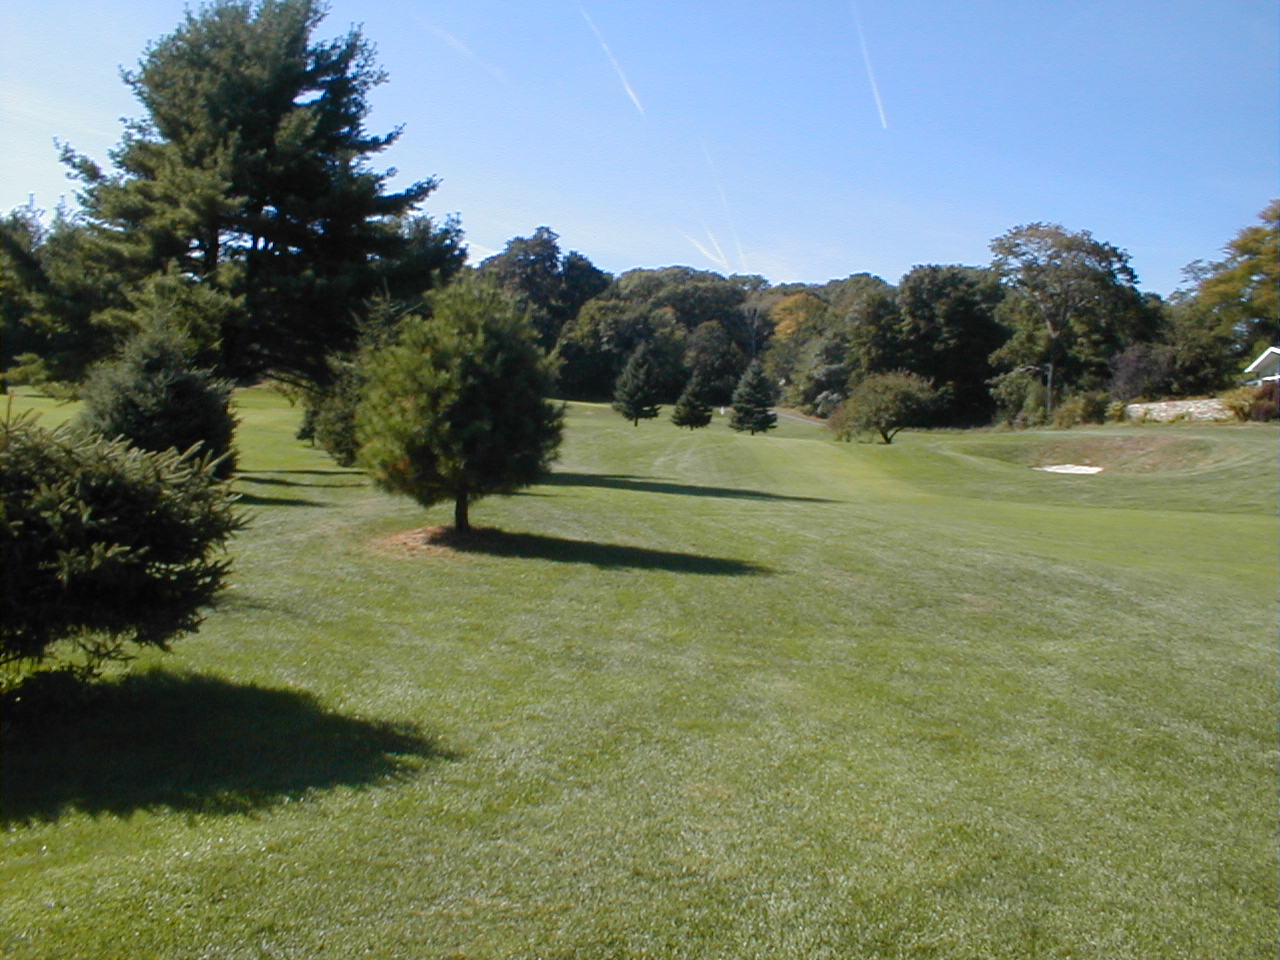
Although this is a very short par 4, the small green slopes
sharply from the back to the front and is well bunkered with trees
lining the fairway in the rough. A short iron off the tee is
the "smart" play and will provide the best opportunity for
a birdie. Handicap #15.
-
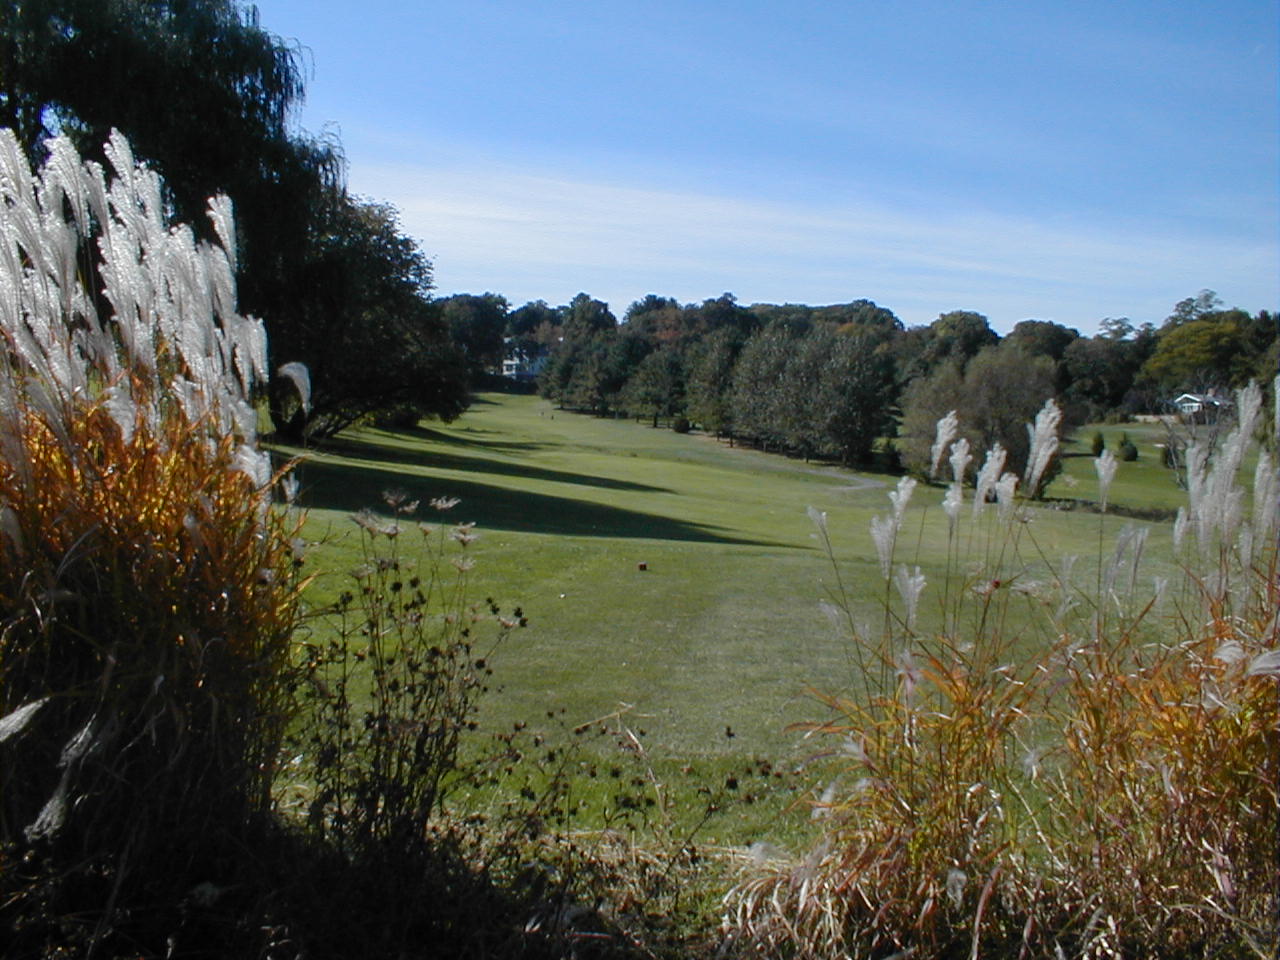
533 yards - par 5. Easily the toughest hole at
 Newton
Commonwealth, this hole takes 3 great shots to reach the
green. A small creek that runs across the fairway generally
does not come into play, but a pond off to the right can catch an
errant tee shot. A small elevated green that slopes sharply
from back to front makes par on this hole a great score.
Handicap #1. Newton
Commonwealth, this hole takes 3 great shots to reach the
green. A small creek that runs across the fairway generally
does not come into play, but a pond off to the right can catch an
errant tee shot. A small elevated green that slopes sharply
from back to front makes par on this hole a great score.
Handicap #1.
-
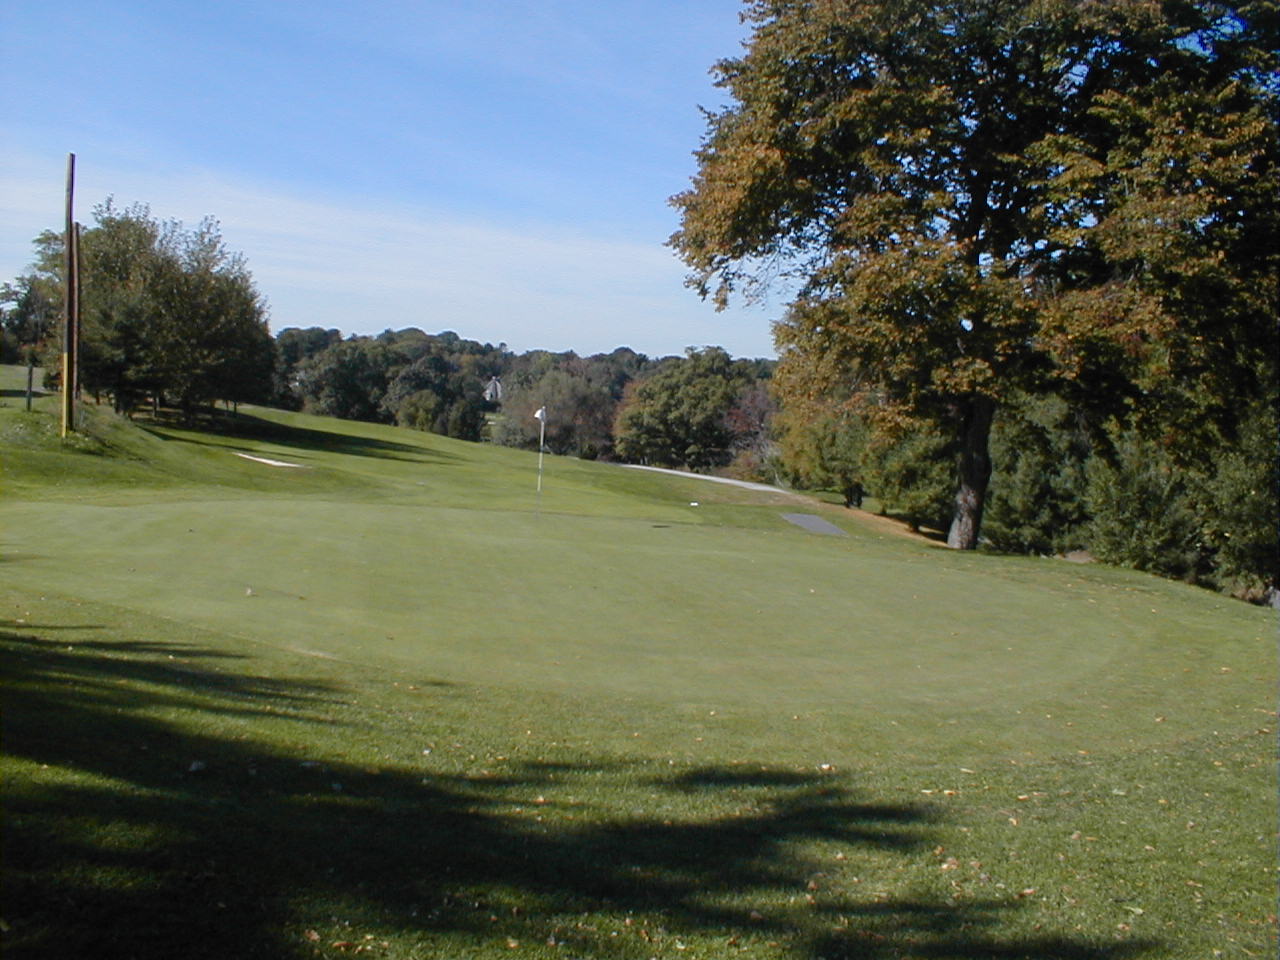
193 yards - par 3. This difficult hole plays to a narrow
two-tier green that is shallow and treacherous. When the hole
is cut on the right hand side, both out-of-bounds and a deep bunker
fronting the green come into play. Although the stream that
runs across the fairway generally does not hinder shots, the strong
winds on this hole make proper club selection a must. Handicap
#5.
-
129 yards - par 3. One of the most flat greens on the course,
this short hole requires only a wedge off of the tee. A large
bunker and mound guards the front edge of the green, but most of the
trouble on this hole is from a steep embankment on the left that can
cause a pulled tee shot to roll down a slope of 30 yards, leaving a
difficult pitch back up to the green. Handicap #17.
-
455 yards - par 5. At 455 yards, this is a par five where a
big hitter can get home in two shots. However, a right-to-left
sloping fairway
 will
penalize anything but a well-struck cut or straight ball. If
you hit a draw, keep it under control or you will be in jail to the
left. Long hitters will have a good chance at reaching the
green in two. However, in typical Donald Ross style, the green
is protected by OB right, and trouble awaits both left and over the
back. The green is a three-tiered beauty with some very
dramatic pin placement options. Handicap #3. will
penalize anything but a well-struck cut or straight ball. If
you hit a draw, keep it under control or you will be in jail to the
left. Long hitters will have a good chance at reaching the
green in two. However, in typical Donald Ross style, the green
is protected by OB right, and trouble awaits both left and over the
back. The green is a three-tiered beauty with some very
dramatic pin placement options. Handicap #3.
-
276 yards - par 4. Although this hole can be reached by the
longest of hitters, the narrow fairway slopes severely from left to
right, and the par 4 comes into play once you begin putting on this
green. This is the most difficult green on the course.
There is no such thing as a "straight putt" on this
multi-sloped and undulating green. Handicap #9.
-
177 yards - par 3. This steep downhill hole provides a
difficult tee shot, especially on a windy day. The small green
slopes from back to front and is heavily bunkered on the front
edge. The safe shot onto this green is to aim for the left
side where a bail-out area is provided. Miss this green to the
right and you are left with a difficult pitch shot back up onto a
sloping green. Handicap #11.
-
488 yards - par 5. Reachable in two, this hole provides a
great opportunity for a birdie. There are few flat or level
spots on the fairway and it slopes sharply from right to left for
almost the entire length of the hole. There is trouble on this
hole if you miss the green to the left where an embankment and a
bunker provide a difficult pitch shot to the green. Handicap
#7.
-
212 yards - par 3. A steep downhill tee shot to a small green
is made even more difficult when the wind is swirling. If you
misjudge your tee shot and hit it long, you are through the trees
behind the green and on the first tee with a difficult chip back to
the green. A bunker on the right side of the green is always
in play and par is really a good score. Handicap #13.
-
266 yards - par 4. A short par 4 plays directly
 uphill to an
enormous two-tiered green sloping from right to left. The
green is protected on the front and the right by large
bunkers. A solid wall of trees on the right of the fairway
catches any errant shots in that area. If you're too far left
on your approach shot to the green, you are blocked by a huge oak
tree. Accuracy off the tee is key. Handicap #14. uphill to an
enormous two-tiered green sloping from right to left. The
green is protected on the front and the right by large
bunkers. A solid wall of trees on the right of the fairway
catches any errant shots in that area. If you're too far left
on your approach shot to the green, you are blocked by a huge oak
tree. Accuracy off the tee is key. Handicap #14.
-
307 yards - par 4. With out-of-bounds on the left and a sharp
dogleg uphill to the right, hole #16 requires a controlled shot off
of the tee. The second shot on this hole plays straight up a
hill to a narrow green that slopes from right to left. You
don't want to miss this green to the left as you will be left with a
difficult recovery shot up a hill to a blind green. Handicap
#4.
-
168 yards, par 3. Although this hole looks easy, looks are
deceiving. Off the tee, out-of-bounds squeezes the left side
of the hole and a tee shot pushed to the right goes down a severe
slope onto the 15th fairway behind some evergreens. There are
bunkers protecting the left of the green and out-of-bounds if you go
too far beyond the green. Handicap #12.
- 268 yards - par 4. This easy hole goes straight
downhill and allows a golfer the chance to shine. With water
hazards just in front and to the right of the oversized green, this
hole is completed in full view of the players waiting to
start their rounds. Handicap #16.
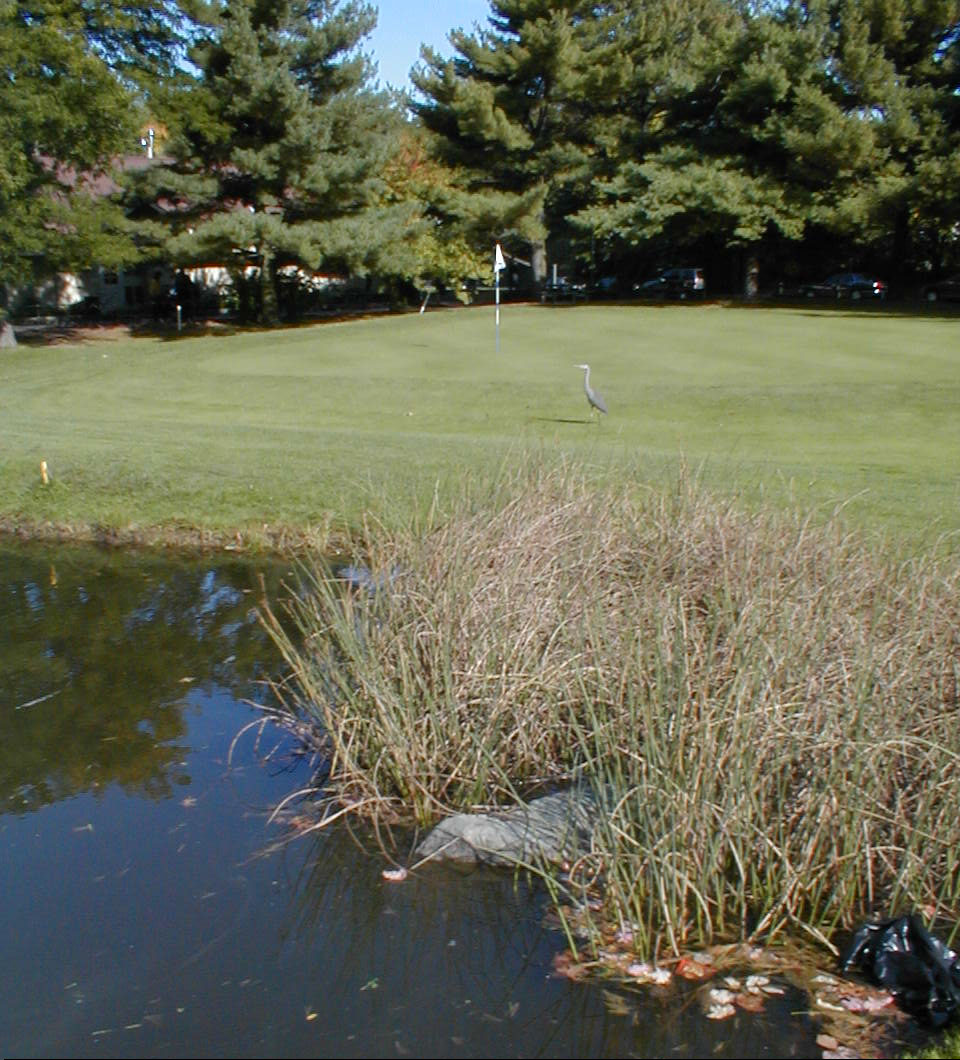
(Yes, that's a Blue Heron on the Green!)
-
247 yards - par 4. With a short dogleg left, par four would
not usually rate as a key hole, but out-of-bounds on your right,
left, and beyond the dogleg in the fairway are only part of the
trouble lurking here. A pond runs in front of the tee and
along the left side of the hole to the green, and once again, the
green has three tiers. Birdie is very possible here with a
well placed tee shot and an accurate approach shot. A very
tempting option is to try to drive the green, but the shot must be
absolutely perfect. Water and trees guard the green on the
left. Handicap #10.
-
451 yards - par 5. Reachable in two by the longer hitters,
this hole provides a perfect opportunity for a birdie.
 A
sharp upward slope in the fairway about 200 yards from the green can
cause some awkward lies, and out-of-bounds runs along the entire
right side of the hole. A bowl shaped bunker to the right of,
and just short of, the green can gather in inaccurate shots and
cause a difficult shot to the green. Handicap #8. A
sharp upward slope in the fairway about 200 yards from the green can
cause some awkward lies, and out-of-bounds runs along the entire
right side of the hole. A bowl shaped bunker to the right of,
and just short of, the green can gather in inaccurate shots and
cause a difficult shot to the green. Handicap #8.
-
142 yards - par 3. This short hole plays to a well bunkered,
two-tiered green that is narrow and fast. Leave your ball on
the wrong tier of the green and a 3-putt is likely. Push your
tee shot a bit too far to the right and you are out-of-bounds.
Handicap #18.
-
378 yards - par 4. 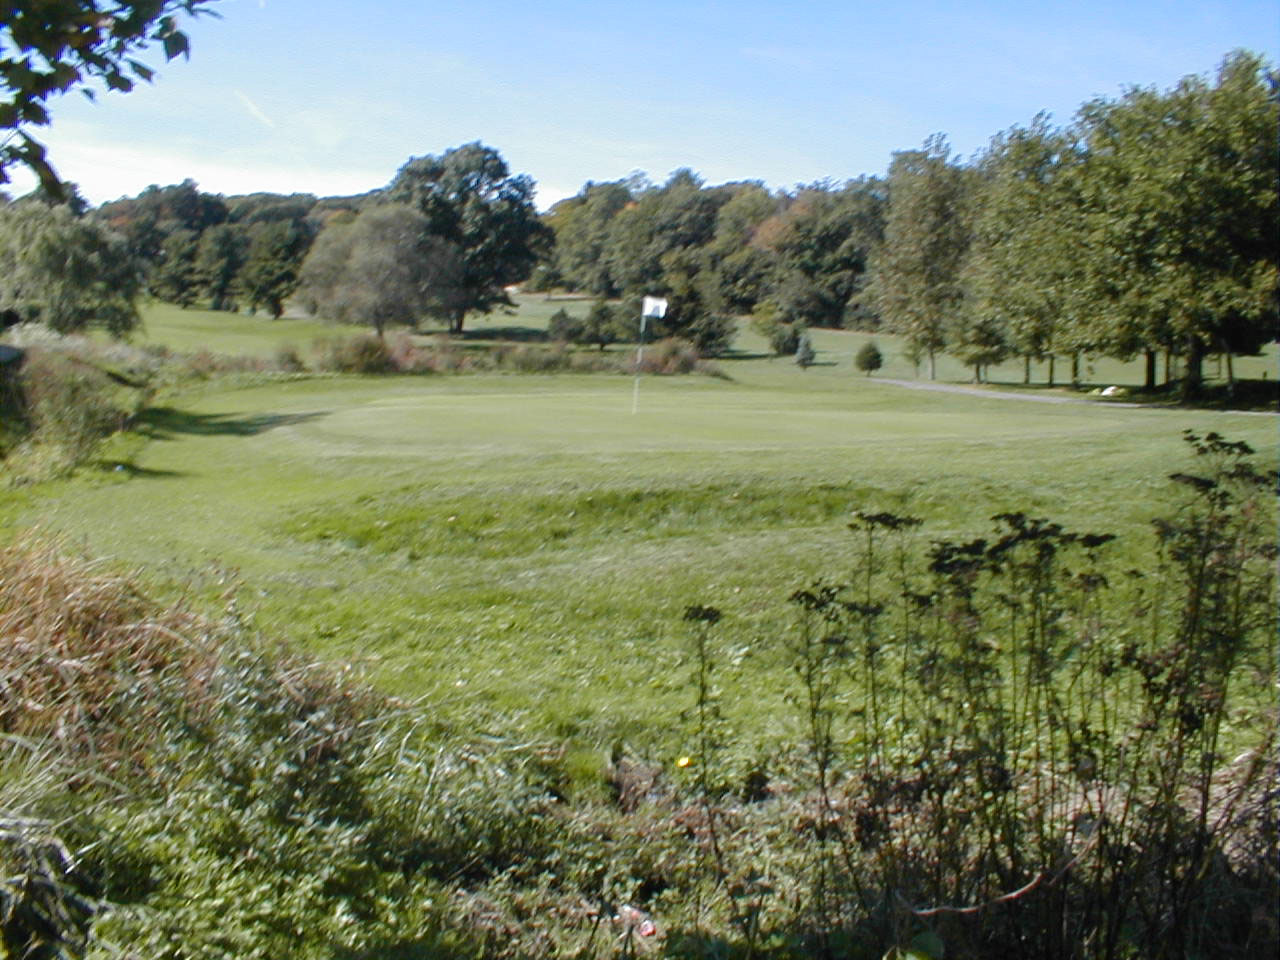 Arguably the toughest hole on the course,
hole #17 requires an accurate drive and a precise approach shot to a
tiny green. Miss the green short or right and you are going to
be in a water hazard. Miss it long and you're in the
swamp! Miss it left and you are either in a bunker or left
with a very difficult chip shot back to the green. Par is a
fantastic score here. Handicap #2. Arguably the toughest hole on the course,
hole #17 requires an accurate drive and a precise approach shot to a
tiny green. Miss the green short or right and you are going to
be in a water hazard. Miss it long and you're in the
swamp! Miss it left and you are either in a bunker or left
with a very difficult chip shot back to the green. Par is a
fantastic score here. Handicap #2.
-
378 yards - par 4. This is a long dogleg right with a tee shot
that has to carry over water. From the back tee, this is the
toughest driving hole on the course. Tall trees protect the
out-of-bounds line on the right, and two ponds lay directly in front
of the tee. A stream connects the second pond with yet another
pond about 220 yards from the tee. A straight, long tee ball
is imperative. There is a lay-up area short of the water for
those who want to play it safe off the tee. The green is well
bunkered and there is out-of-bounds behind the green. Handicap
#6.
|