|
.gif)
Course
Rating/Slope/Par
Gold Tees: 67.1/122/71
White Tees:
65.9/108/70
Red Tees: 68.7/108/71
|
|
Gold Tees: 383 yards
White Tees: 358
Red Tees: 310
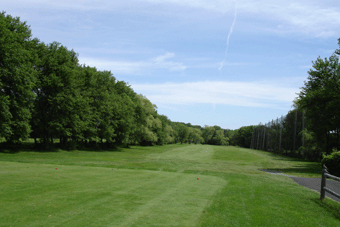
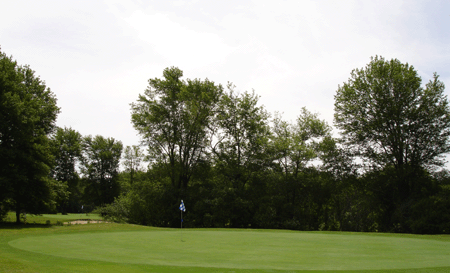
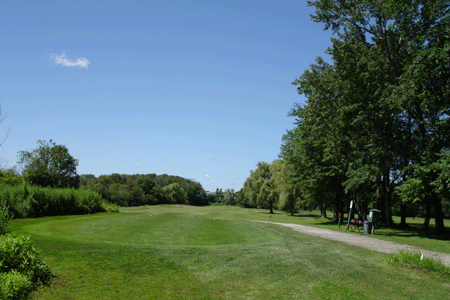
Great first hole to start your round - inviting fairway and
accessible green. Avoid the tree-lined creek that runs down the left
side of the fairway and it should be even par after one.
(Handicap 5)
|
|
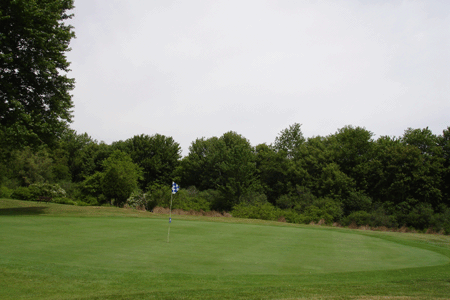
Gold Tees: 261 yards
White Tees: 249
Red
Tees: 237
Classic risk/reward hole - short dogleg left par 4.
Gamblers try to be on in one with a high draw over the trees.
A tee shot that doesn't draw ends up in the middle of the 11th
fairway. A wedge off the tee puts you at the hundred yard
marker for another easy wedge to the green over a well-placed front
bunker. (Handicap 13)
|
|
Gold: 354
White: 343
Red: 293
A straight
drive is imperative on this hazardous par 4. The creek running
across the fairway should not come into play, but the creek running
up the right side of the hole is the recipient of many sliced
drives. A pull left will put you in the tree line left.
Your approach shot should be below the hole on the severely
back-to-front sloping green. (Handicap 9)
|
Gold: 402
White: 387
Red: 375
This
number 1 stroke hole requires two good shots to be on in regulation.
Long hitters need to be careful of the creek running across the
fairway. A miss right on your approach may land you in the
water hazard. Once on the flat green, putting should not be a
problem. (Handicap 1)
|
Gold: 455
White: 435
Red: 400
Big
hitters may try to get home in two on this dogleg right par 5.
Your tee shot may end up on the 8th fairway if it doesn't fade.
Back-to-front green is bunkered front right. (Handicap 7)
|
Gold: 338
White: 326
Red: 248
Narrow
short par 4 - no need for a driver to carry the creek that runs
across the fairway. A tee ball left of center will take the
right side hazard out of play on your second shot. Running the
approach shot through the two-tiered green may catch the back left
bunker. (Handicap 11)
|
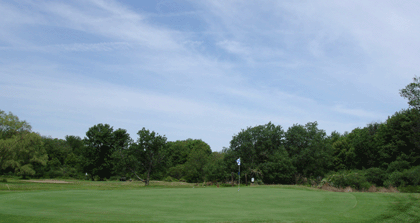
Gold: 203
White: 151
Red: 130
More
difficult of back-to-back par 3's. A straight tee ball avoids
right and left tree line. Over-shooting the green can be
hazardous. Green slopes back to front. (Handicap 15)
|
Gold: 148
White: 121
Red: 121
This short par 3 is not without possible misfortune. With 3
greenside bunkers to the left and a water hazard to the right of the
green, an errant tee shot can find trouble. (Handicap 17)
|
Gold: 488/372
White: 453/363
Red: 352/311
The 9th hole can be played as a straight-away par 4 or a slight
dogleg right par 5, depending on which set of tees you choose.
Either way, you will encounter an undulating fairway unique to
Simoni-built courses. (Handicap 3)
|
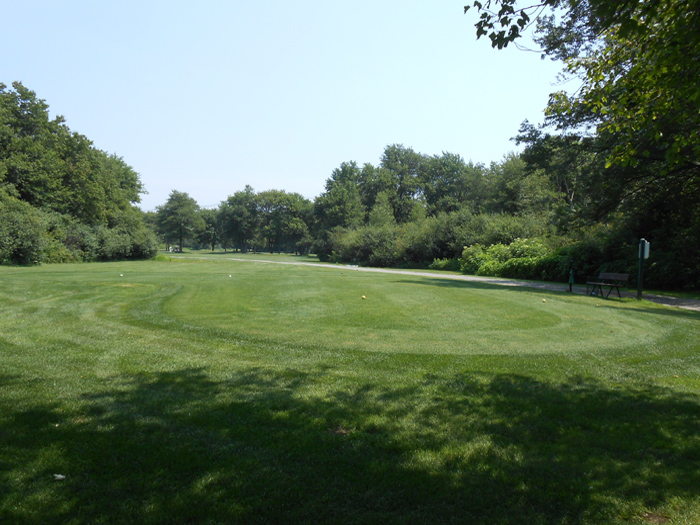
Gold: 309
White: 296
Red: 280
A short
par 4 to get the back 9 off to a good start. The driving range
net helps pulled tee balls stay in play. Keeping your drive
away from the right side trees and creek will give you a birdie
opportunity. (Handicap 12)
|
Gold: 333
White: 302
Red: 259
This short
dogleg right par 4 is more difficult than it looks. Not much
room for error off the tee. Too long and you can end up in the
dogleg bunker or woods. Too short and the tree right blocks
your next shot. The creek in front of the green and the water
hazard left of the green can also come into play. (Handicap
10)
|
Gold: 528
White: 516
Red: 449
Straight
away par 5 that is easy to par as long as the drive stays out of the
fairway bunker and the airport abutting the left side of the hole.
A creek running across the fairway in front of the green usually
doesn't come into play. Right front greenside bunker makes
approach from left side of fairway preferable. (Handicap 4)
|
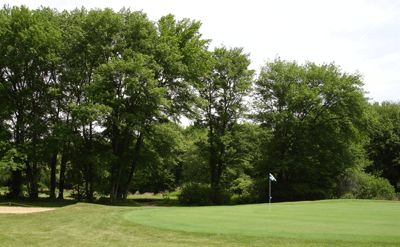
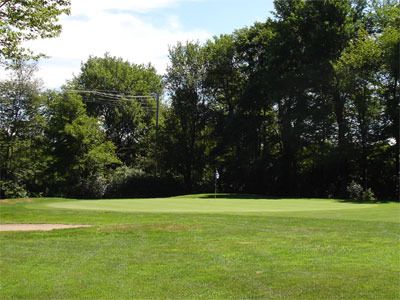
Gold: 138
White: 133
Red: 106
This
seemingly innocuous par 3 can lull you into a false sense of
security. The green is guarded by a water hazard left and a
large greenside bunker right. Slightly pulled tee shots can
easily carom off the left slope into the creek. The
front-to-back undulating green also makes putting interesting.
(Handicap 16)
|
Gold: 365
White: 345
Red: 323
The wide
fairway is a welcoming sight on this tee box. A badly pulled
tee ball is the only way to find trouble in the trees and creek
left. A drive down the middle will leave you a relaxed
approach shot to a small but reachable green. (Handicap 8)
|
Gold: 135
White: 123
Red: 102
The last
of the par 3's gives you no breaks for a poorly hit tee ball.
The water hazard located to the right front of the green can be
problematic. Bailing out left finds the front left bunker.
Flying the green will put you in the back bunker. Hitting the
green avoids all problems as long as you can two-putt.
(Handicap 18)
|
Gold: 430
White: 413
Red: 360
Toughest hole on the back nine, it takes two big hits to be home in
two. A big draw off the tee avoids the trees and creek on the
left and gives you the best look for your second shot. Short
shots will avoid right bunker. Making par on this hole is an
accomplishment. (Handicap 2)
|
Gold: 353
White: 328
Red: 308
A tee ball
in the fairway is all that is required for a short approach shot on
this par 4. A sliced drive puts the trees guarding the green
on the right side in play. Pulled tee balls must contend with
the two left greenside bunkers on the next shot. (Handicap 14)
|
Gold: 386
White: 372
Red: 329
This nice finishing hole puts a premium on a straight drive. The
narrow fairway is tree-lined right and left and has a creek running
down the right side of the hole. At 372 yards, when the wind
is against, it takes two strong shots to get home in two. The
best approach is from the left side of the fairway, avoiding
over-hanging tree limbs and the front right bunker. Being
below the hole is advantageous on this sloping back-to-front green.
(Handicap 6)
|
|
|